Google Site Kit has recently released an open-source WordPress plugin. This plugin allows website owners to analyze, monitor, and improve their site performance all in one place. This guide takes you through the process of how to set up Google Site Kit on WordPress.
How to Set Up Google Site Kit on WordPress
What is Google Site Kit?
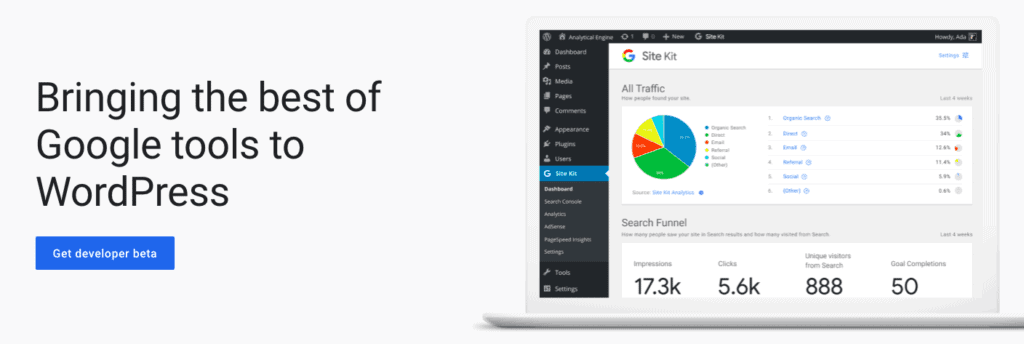
Google Site Kit is an official WordPress plugin developed by Google. It serves as a comprehensive toolkit for WordPress site owners to gain insights directly from their dashboard on how users are interacting with their website. The plugin simplifies the process of setting up and configuring essential Google products like Google Search Console, Analytics, PageSpeed Insights, and AdSense.
Users can view a consolidated report within their WordPress dashboard, eliminating the need to check multiple platforms. This tool is particularly beneficial for site owners seeking to understand user engagement, improve website performance, and potentially monetize their content through insights provided directly by Google’s suite of tools.
Google Site Kit Features
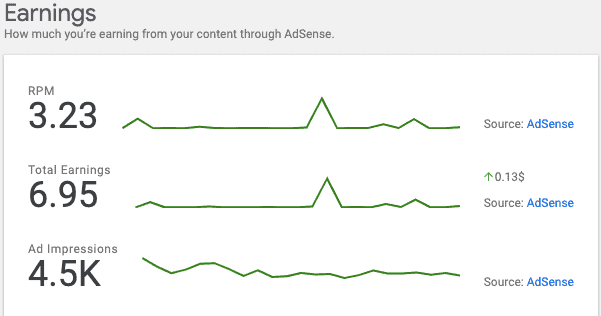
The site kit connects to the likes of Google Analytics, Search Console, and Adsense, all provided by Google when you first set up your website. The Google Site Kit plugin helps you set up these services in one place and pulls in all the information into your WordPress site.
Google Analytics
This visitor tracking tool tracks behaviour with real-time traffic statistics, the journey of visitors on your website, and other performance-related stats.

Google Search Console
The search console analyses your website’s performance in Google Search. You can see the status of indexing, traffic, and other significant search engine optimization (SEO) metrics.

Google AdSense
A platform for running contextual ads on your WordPress website.
Google PageSpeed Insights
This helps webmasters optimize their websites to load more quickly on the visitors’ devices.

How to Install Google Site Kit
The plugin is currently in Beta, and they plan to extend the plug-in’s capabilities and integrations in the future. Due to it being in Beta, you can’t install the plugin as you usually would within WordPress and, therefore, need to follow these steps.
Open a browser navigate to; https://sitekit.withgoogle.com, and click on “Get Developer Beta.”
Scroll down and click on the link “Download Right Here.”
Open WordPress and click on “Plugins” from the left-hand side, then click “Add New.”
Choose the downloaded plugin or drag and drop the file into the section. “Install Now” and Activate the Plugin.

To Create a Client Login
Once you have installed and activated your plugin, click “Start Setup” to integrate Google’s services within your WordPress website.

Click on the blue link.
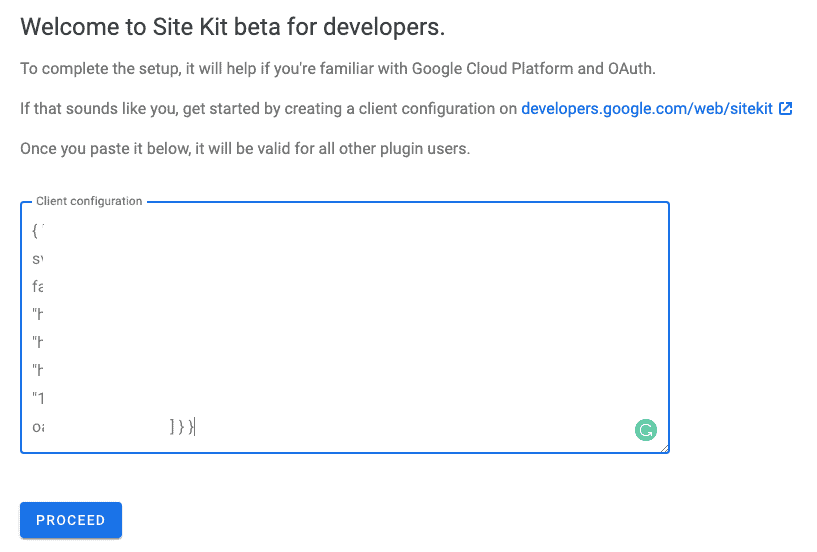
Select get “OAuth credentials.“
Copy the text and paste it into your WordPress site
Click the “Proceed” button.
Tip: If you have an ad/pop-up blocker, you must temporarily disable this feature.
Authenticate
To authenticate, click the “Sign in with Google” button and authenticate your WordPress website with Google.
You will need to Allow any prompts that then appear.

Verify
You’ll then be redirected to your WordPress dashboard. Verify your website and click ‘Continue.’
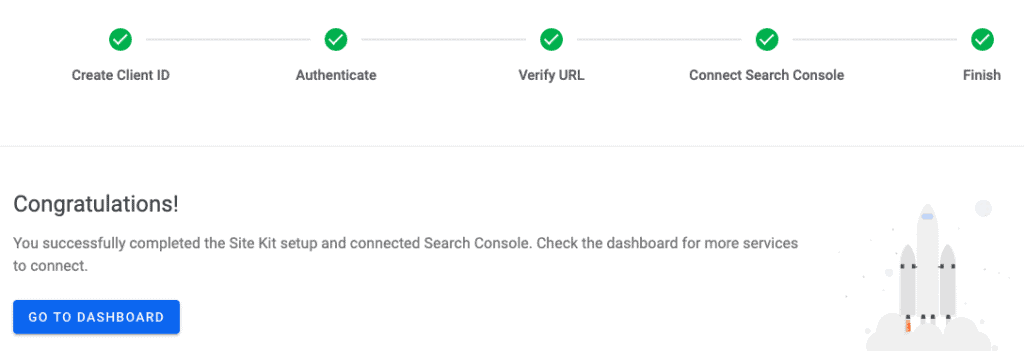
Once completed, the next few steps will occur automatically, and you can then go to the Dashboard.
You can add data to the Dashboard by connecting more services.
Connecting Google Analytics
To connect to Google Analytics, click on the corresponding “Connect Service” link and then “Proceed“.
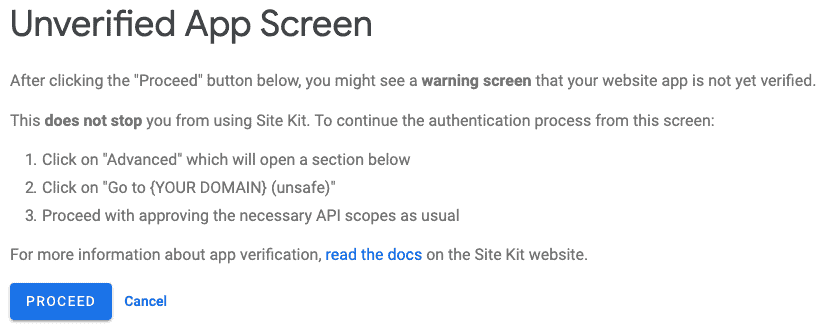
Select your account. Click on “Advanced” and then on the “Go to [your domain]” link.
Click ‘Allow‘ on any popup messages until you reach the dashboard.

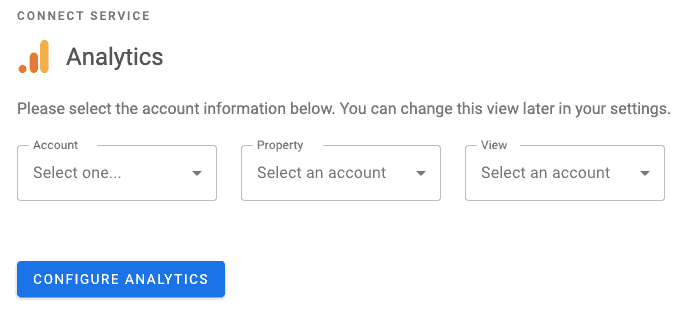
When you reach the Analytics section, select your account from the dropdown and click on “Configure Analytics“.
You’re now connected!

Connecting PageSpeed Insights
To connect PageSpeed Insights, which will show your website’s performance, you’ll need to click on “Connect Service” beneath PageSpeed Insights.
Click on the blue hyperlink to generate the API Key.
Then click “Get API Key“.
Click the copy icon and click “Proceed“, and you’re all set!

Connecting Adsense
To connect Adsense, which will show your website’s performance, you’ll need to click on “Connect Service” beneath Adsense.
Click “Proceed”
Select your account. Click on “Advanced” and then on the “Go to [your domain]” link.
“Allow” permission to any pop-ups.

