 Skip to content
This guide will explain how to add Arbitrum Network to the MetaMask wallet, so you can access decentralized DApps and DeFi platforms at a fraction of the cost of Ethereum.
MetaMask has always been the go-to wallet for accessing the Ethereum network. However, users are becoming increasingly frustrated with the sky-high GAS fees when interacting with the Ethereum network. Users are now searching for ways to reduce their costs, and Arbitrum Network is a potential solution.
So, let’s dive in and find out how to add Arbitrum Network to Metamask and access Dapps at a fraction of the cost.
How to Add Arbitrum Network to MetaMask
To use the Arbitrum network, you’ll first need a wallet that supports and connects to Arbitrum. If you use the Metamask wallet, you can add Arbitrum to your list of networks.
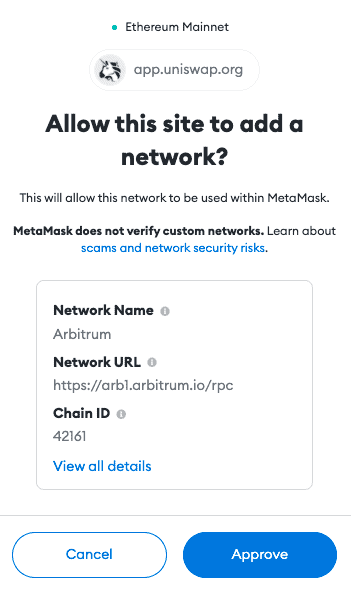
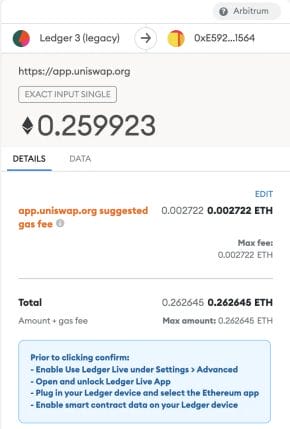
Alternatively, you can integrate Arbitrum automatically by heading across to the likes of UniSwap and connecting your Metamask wallet. You will then be prompted to allow the site to add the network. Please always make sure you double-check these details are correct before accepting.
If the Arbitrum network is not available from your list of networks on Metamask, you can follow the below guide on how to add Arbitrum to the Metamask wallet.
Total Time: 15 minutes
Download MetaMask Wallet
To start connecting Arbitrum to the Metamask wallet, make sure that MetaMask is installed on your device.
Installing MetaMask will not be discussed in this thread, but you can check out our tutorial to see how to set up MetaMask on your selected device. You can download your Metamask wallet from https://metamask.io/.
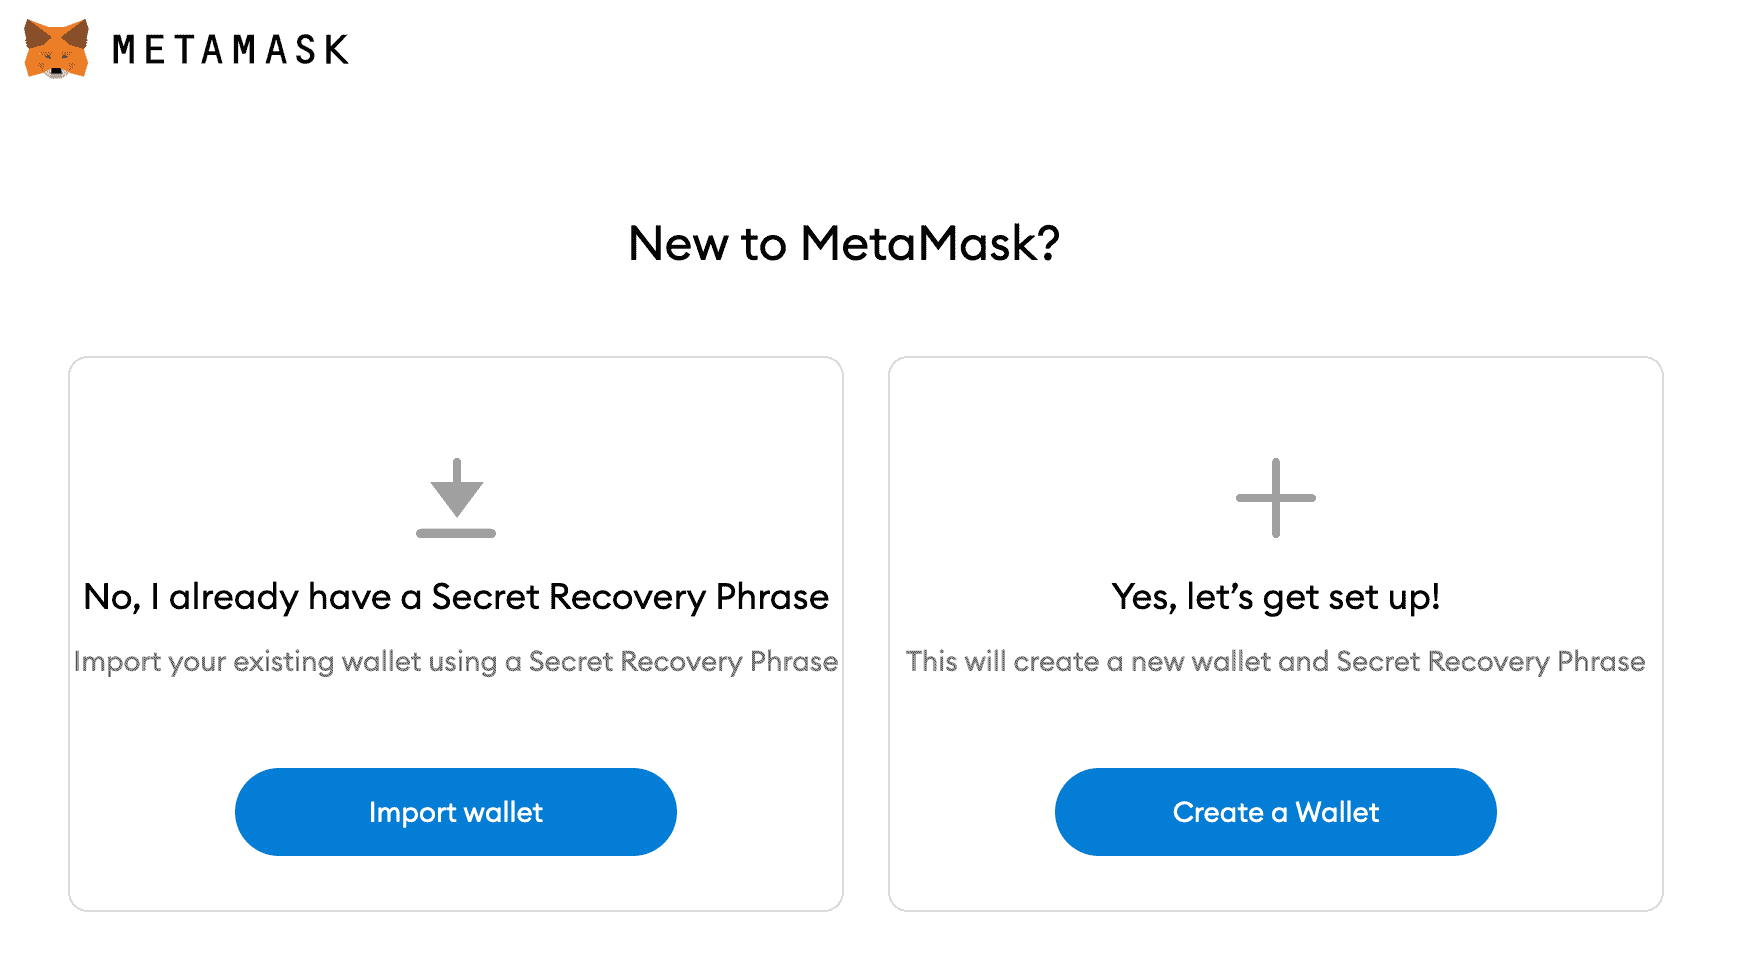
Create a MetaMask Wallet
If you have downloaded Metamask for the first time, you will need to create a new wallet address. Initially, this will be created on the Ethereum Network and not Arbitrum; this will come later.
Add Network to MetaMask
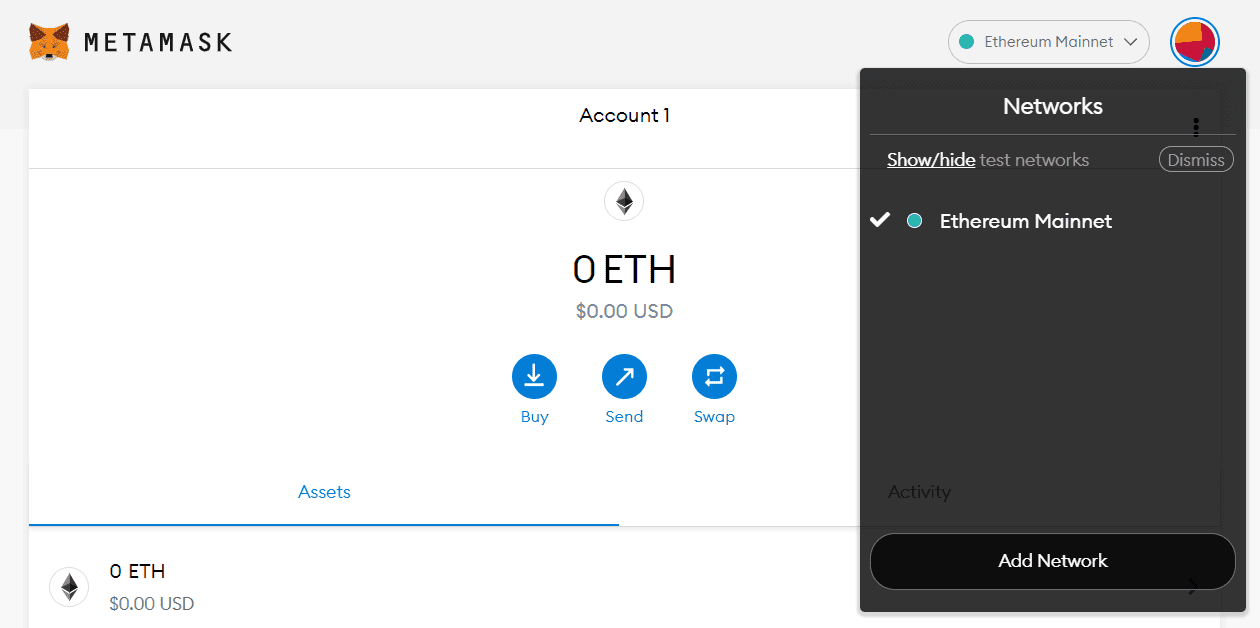
Once MetaMask is installed, open your MetaMask wallet. After opening the wallet, click the dropdown beside the connected network name (usually set to Ethereum Mainnet).
Then select “Add Network“.
Add Arbitrum Network to MetaMask
You will be directed to the “Add Network” page. To proceed, type in (or copy and paste) the below information to the appropriate box. You may use the image below for reference.
– Network Name: Arbitrum
– New RPC URL: https://arb1.arbitrum.io/rpc
– Chain ID: 42161
– Symbol: ETH
– Block Explorer URL: https://arbiscan.io/
Save Arbitrum Network to MetaMask Wallet
After inputting Arbitrum Network into Metamaks, click “Save“.
Congratulations! Your MetaMask wallet will now be connected to the Arbitrum Network.
What is Arbitrum?
Arbitrum is an Ethereum Layer 2 solution developed by Off-chain Labs. The Mainnet beta of Arbitrum One was only released to developers in May 2021 to enable a smooth onboarding before anyone risks losing their money. By early August 2021, they had already onboarded over 400 DApps to the beta, and on August 31st, they publicly launched Arbitrum One.
Similar to Optimism and Polygon, Arbitrum was designed to boost Ethereum’s transactional throughput and minimise transaction fees at the same time. It does this using something called “transaction rollups” to record batches of transactions on the Ethereum main chain. It then executes these on a cheap, scalable layer 2 sidechain which helps to offload most of the computational and storage burden from Ethereum.
Because of its very efficient roll-up technology, Arbitrum can cut your Ethereum fees down to just a fraction of what they would on the Ethereum Mainnet while still providing sufficient incentives for validators.
Arbitrum Supported DApps
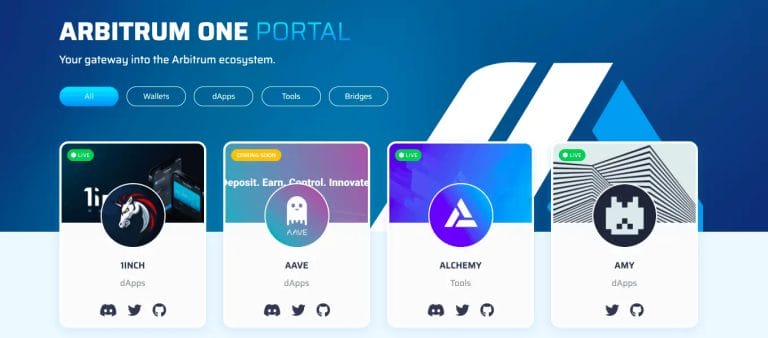
Arbitrum is supported by a host of wallets and DApps, including 1Inch, Aave, Curve, SushiSwap, UniSwap, Zapper and Zerion. To check out a full list, head across to the Arbitrum portal.

How to Bridge Ethereum to Arbitrum?
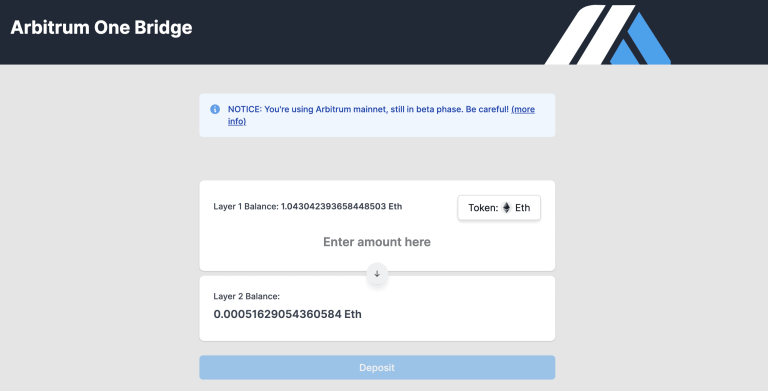
To get started using Arbitrum, you’ll need to deposit your Ethereum-based tokens from the Ethereum Mainnet across to Arbitrum using a bridge. A bridge that you can use for this process is Offchain Labs’ Arbitrum One Bridge.
If you don’t already have any Ethereum to get started with, you can purchase some on popular cryptocurrency exchanges such as Binance or Huobi with either cryptocurrency or FIAT.
- Connect your web3 wallet (which will need to be connected to the Ethereum Mainnet)
- Select your token and enter the amount you’d like to bridge.
- Choose to “Deposit
- Read the warning and terms and then choose “Deposit” when you are happy
- Confirm within your connected wallet and pay the associated gas fee.
It may then take up to 10 minutes for your balance to appear on Layer 2.
How to Withdraw Ethereum from Arbitrum?
When bridging your tokens, it’s really important to note that there is approximately a 7-day withdrawal period. This is if you want to reverse the process and send your tokens back from Arbitrum to the Ethereum Mainnet.

How Much are the Fees on Arbitrum?
Arbitrum states that they will make interacting on the Ethereum blockchain cheaper, with fees being at a fraction of the cost of the Ethereum Mainnet. But is this true?
Well, when creating my Arbitrum tutorial, I swapped 0.5 ETH for DAI on UniSwap using both Arbitrum and the Ethereum Mainnet as a comparison. With Arbitrum the transaction cost just $2.50, whereas for the same transaction, this would have cost between $30 and $39 on the Ethereum Mainnet.
Arbitrum vs Optimism
The two most popular solutions in the Optimistic Rollups space are Optimism and Arbitrum. Both Arbitrum and Optimism are Layer 2 solutions for Ethereum, created to boost speeds and reduce costs.
The main difference between the 2 is the way they generate fraud-proof. Optimism executes the whole Layer 2 transaction. Whereas Arbitrum takes a multi-round approach and executes small parts of the Layer 2 transaction until it finds a discrepancy, enabling higher transaction capacity.
Arbitrum also supports all EMV languages, including YUL, Vyper and Solidity. As opposed to Optimism, which does not support any EMV languages apart from Solidity.
Its also been said that the codebase on Optimism is relatively minimalist, whereas Arbitrum is more complex.

