Skip to content
This guide will explain how to add Optimism Network to the MetaMask wallet, so you can access decentralized DApps and DeFi platforms at a fraction of the cost of Ethereum. Plus, we will also explain how to bridge Ethereum across to Optimistic network.
MetaMask has always been the go-to wallet for accessing the Ethereum network. However, users are becoming increasingly frustrated with the sky-high GAS fees when interacting with the Ethereum network. Users are now searching for ways to reduce their costs and Optimism Network.
So, let’s dive in and find out how to add Optimism Network to Metamask and access Dapps at a fraction of the cost.
How to Add Optimism Network to MetaMask

To connect Optimism to MetaMask, you’ll first need to have a wallet that supports and connects to Optimistic Ethereum. If you are using Metamask and it’s not yet available from your network list, follow the steps below to add Optimistic Ethereum to your Metamask account.
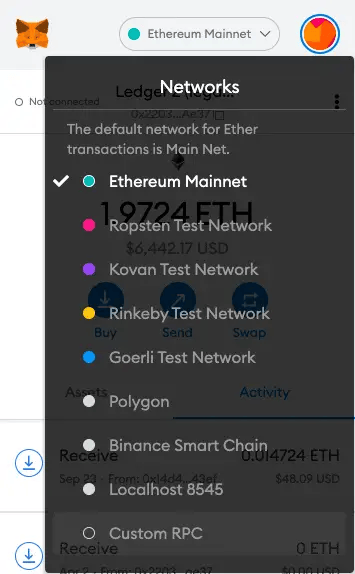
- Open your MetaMask web extension.
- Click onto the dropdown “Ethereum Mainnet” at the top of the wallet
- If Optimism is not appearing on your list, choose “Add Network“
- Add the following details;
- Network Name: Optimistic Ethereum
- New RPC URL: https://mainnet.optimism.io
- Chain ID: 10
- Symbol: ETH
- Block Explorer URL: https://optimistic.ethereum.io
- Click “Save“, and you’ll be automatically connected to the Optimistic Ethereum network.
Alternatively, to integrate Optimistic Ethereum automatically, head across to Chainlink’s page for Optimistic Ethereum using the link https://chainid.link/?network=optimism, then simply choose to “Connect“, and then approve the changes in MetaMask.
To start storing Optimistic Ethereum tokens in your wallet, you’ll first need to bridge your Ethereum ERC20 tokens to Optimistic Ethereum.
What is Optimism?
Optimism, similar to Arbitrum & Polygon, is a Layer 2 scaling solution for Ethereum that supports Ethereum’s Dapps. The Optimistic Ethereum network lets you send transactions, similar to Ethereum, but with two main advantages are faster transaction speeds and lower transaction fees.
It does this by running all transaction data on-chain and computation off-chain, increasing Ethereum’s second transactions and decreasing the fees.
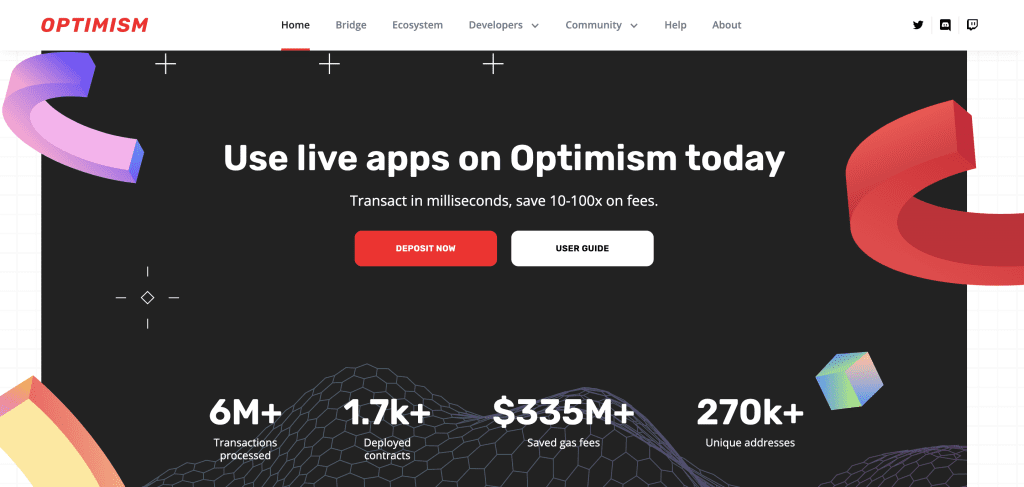
How to Bridge Ethereum to Optimism?
To get started using Optimism, you’ll need to deposit your Ethereum-based tokens from the Ethereum Mainnet across to Optimistic Ethereum using a bridge. Also known as the Optimistic Ethereum Gateway, which you can find on Optimism.io (under Tools).
Before using the gateway, please be aware that Optimism Ethereum is still a very new protocol and to use at your own risk. Any withdrawals from Optimistic Ethereum to standard Ethereum Mainnet will require a week’s wait time.
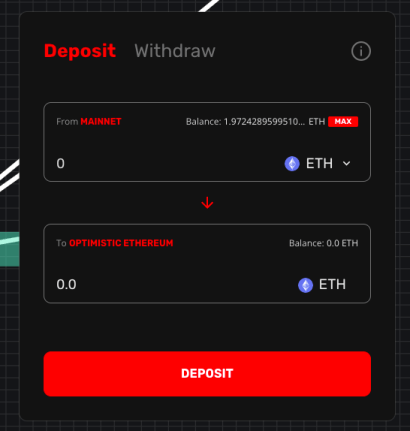
- Connect your web3 wallet (which will need to be connected to the Ethereum mainnet)
- Ensure you are on the “Deposit” tab and ‘From‘ is showing “MAINNET“
- Select the token that you are bridging from
- Enter the amount you want to bridge.
- Ensure that ‘To‘ is showing “OPTIMISTIC ETHEREUM“
- Choose “Deposit“
- Approve the transaction
- Choose ” Deposit” and “Confirm” the transaction in your wallet.
Please be aware that deposits can take up to 20 minutes before they’re considered final on Optimistic Ethereum. Once your tokens have finalised bridging on Optimistic Ethereum, they should then appear in our connected wallet under “Optimistic Ethereum“.
If you don’t already have any Ethereum to get started with, you can purchase some on popular cryptocurrency exchanges such as Binance, FTX or Huobi with either cryptocurrency or FIAT.

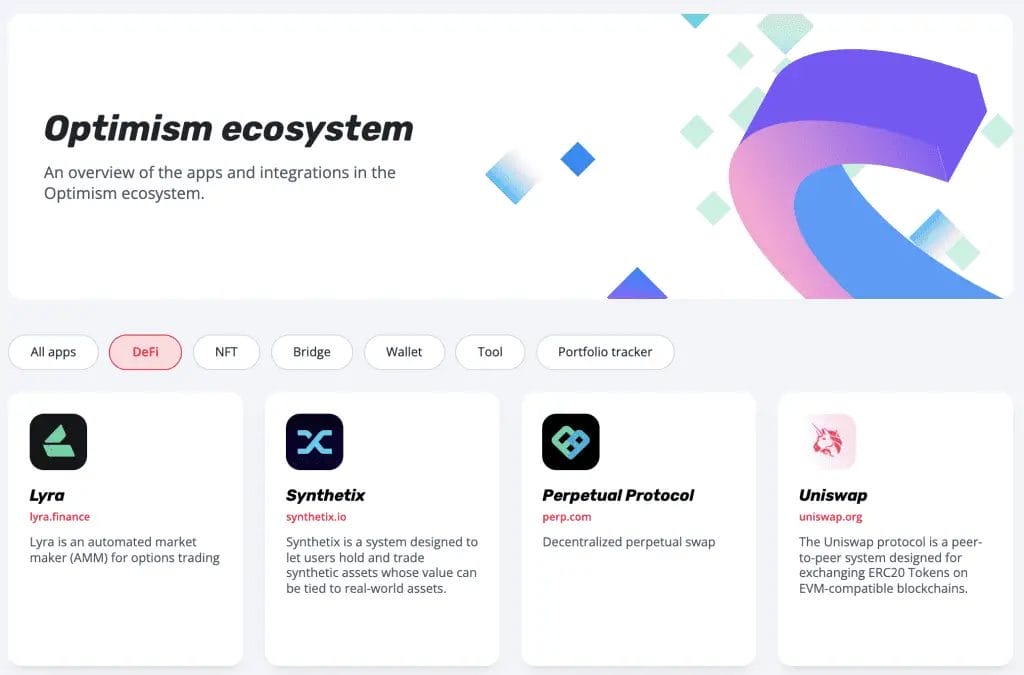
Optimism Supported DApps
Optimism can support any Ethereum DApp. Some of the most popular platforms on Optimistic Ethereum (at the time of writing this Optimism review) are UniSwap, Synthetix and 1inch.
When creating our Optimism tutorial, I used an example of trading 0.5ETH for USDT on the Uniswap platform using both the Ethereum Mainnet and Optimism. Using the Ethereum Mainnet, the transaction cost was $73.00. However, when making the same swap on Optimism, the fee was just $4.71.